Token Markers
From Roll20 Wiki
Page Updated: 2021-12-25 |
Token Markers are the little icons that are available in the radial menu when you select a token. They're a set of icons that Roll20 provides to help you track things on your token, such as character statuses like being poisoned, being influenced by a spell.
Since January 2020, you can add your own Custom Token Markers to your games, and this is a guide on how to do it.
You may previously have known them as Status Indicators, Status Icons, or Status Indicator Overlays.
Contents[hide] |
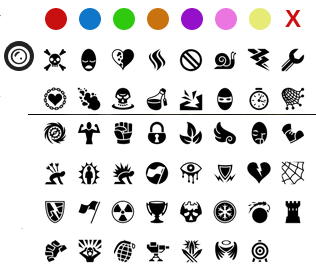
Default Token Markers
By default, Roll20 have a number of token markers that are available for everyone, regardless if the game uses custom token markers or not.
Note that the red "X" behaves differently from the other markers, and places a large red X over the whole token, while all other markers only shows up small in the corner.
Custom Token Markers
Creating Token Marker Sets
To use your own token markers, you'll first want to get a set of markers that works for you. There are several icon packs in the Marketplace right now that creators have made that are downloadable as status icon sets. For these screenshots, we used a set from Czepeku called 80 Status Effect Icons.
The ideal size for a token marker is 512 x 512, and marketplace creators making their own sets should use these dimensions. When they get applied to your token, they'll be resized to 48 x 48 or smaller, depending on the token size and scaling of the markers, but the larger size future-proofs your tokens for a future feature. Token markers can be .gif, .png, or .jpeg/.jpg formats. Animated token markers are not supported at this time; if you upload an animated gif, only one frame will be uploaded and displayed.
Note: Token markers do count towards the storage quota, based on the 512 x 512 image size. Creating token marker sets is available without limitation to all users. Purchased marketplace token marker sets, when available, will not count towards your storage quota.
After you have some images you want to use, upload your token marker set to your library.
Go to Tools > Token Marker Library.
You'll see the Token Marker Library:
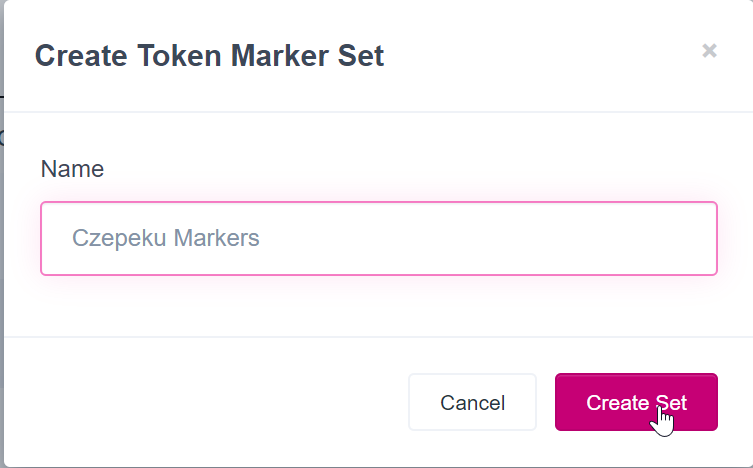
The first time you visit, you'll only see the default token marker set. However, if you click the Create Set button, you'll be prompted to name your new set of token markers:
Name your new marker set and click Create Set.
The new empty set will be available in the library, and you will automatically be taken to its page to upload your markers:
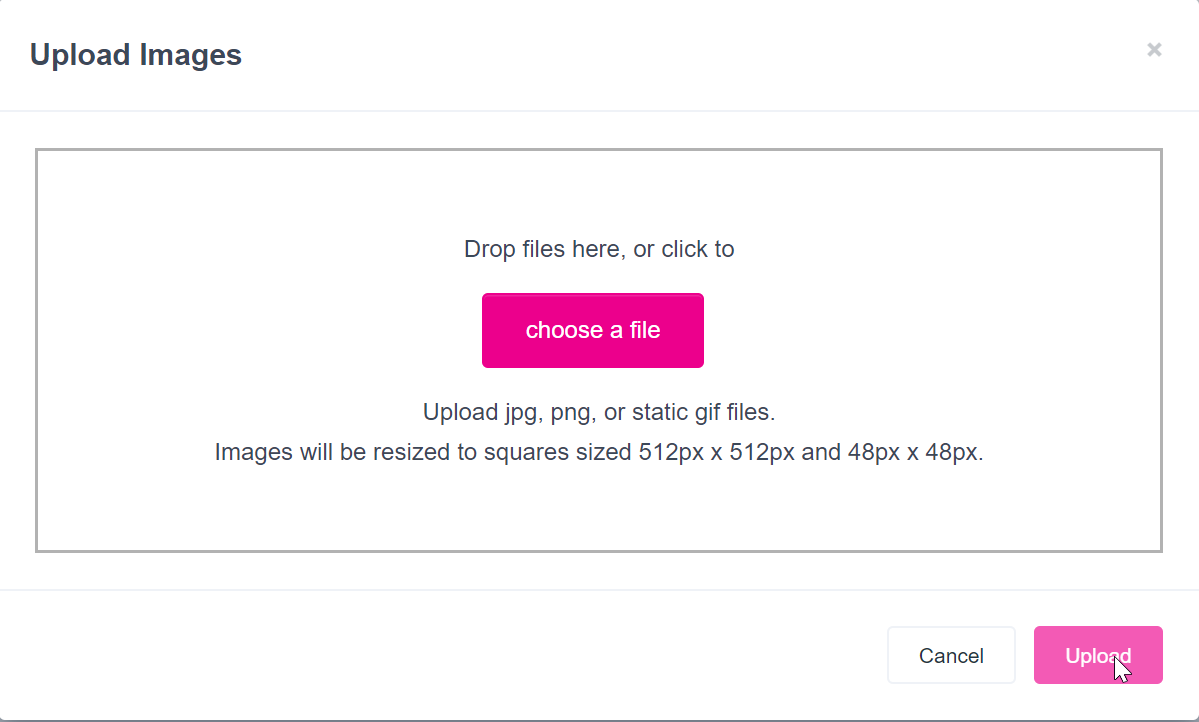
Click the Add Images button or link to upload images to your token set:
Drag and drop your files onto the box and click Upload when you're ready.
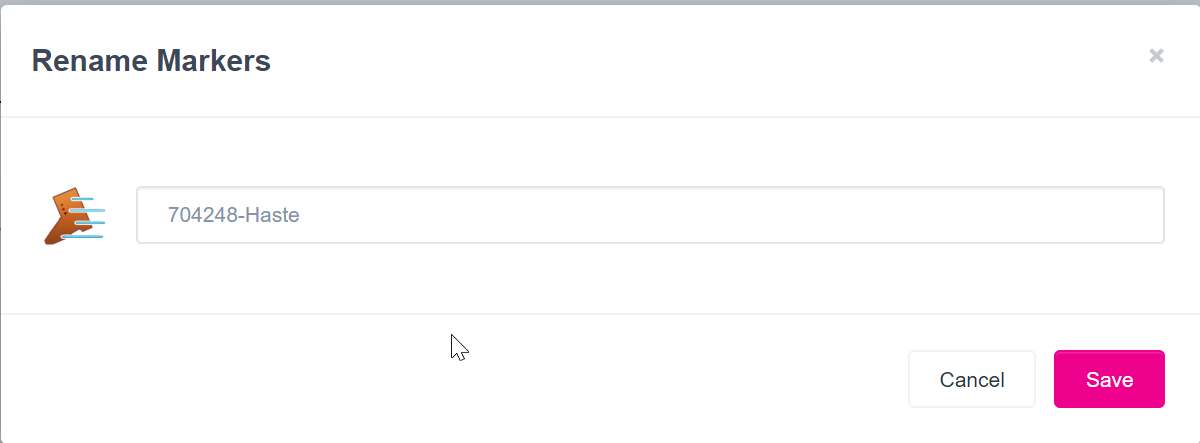
You'll need to wait a minute while the files upload. Once they finish, you'll be prompted to view the markers and rename them if you like:
Note that when naming your token markers, you can only use letters, numbers and the "-" character. Spaces will be converted to underscore characters.
Click Save. The markers will be added to the token marker set in your library.
Adding a Token Marker Set to a Game
Now that you have your custom token marker set uploaded, you should add it to a game!
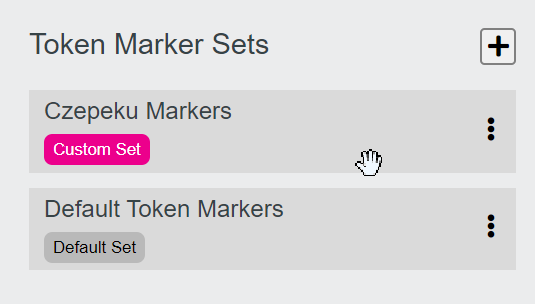
Open the game details page for the campaign you want to add your markers. In the right-hand column, you'll see "Token Marker Sets." That shows which sets are in the current game. Click the + icon to add a set to the game:
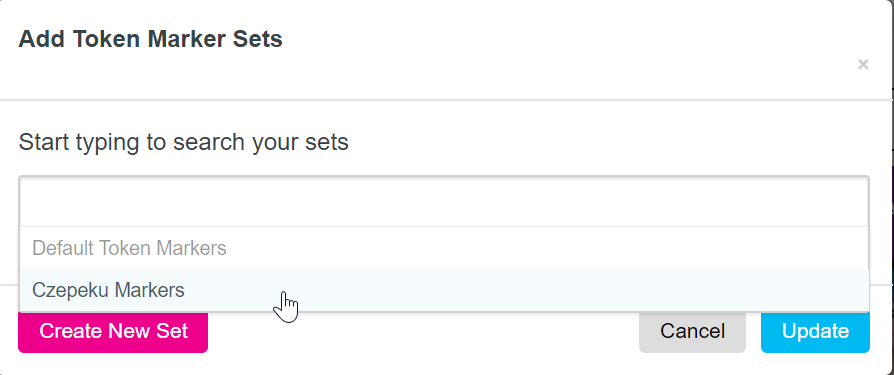
Select the set or sets you want to add, and click Update. If you click Create New Set here, you'll be taken to the Token Marker Library.
After you click Update, the token markers will be available in game.
Note: Players currently in the game will need to reload the VTT in order to see the new token markers.
You can reorder the sets that are in the game! Hover over the set to get the arrows and then click and drag it up or down:
Removing Token Marker Sets from a Game
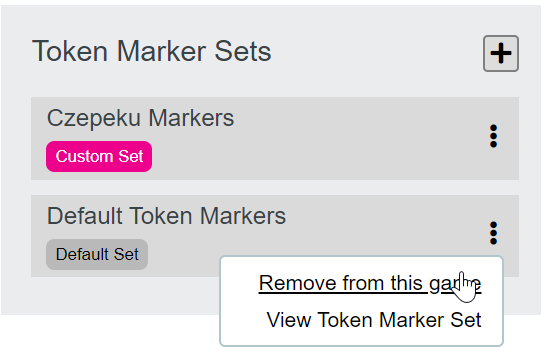
Click the three dot menu to remove the token marker set from the game, or to view it in the library.
It is possible to remove the default token marker set entirely from the game.
Note: You cannot remove the color dots or the red "X" overlay from the token markers.
If you remove a token marker set from a game, and you had tokens that were using those markers, the markers will no longer be visible on the token. However, when you add the token marker set back to the game, the markers on those tokens will reappear.
Removing and Renaming Token Markers
To remove a token marker from a set or rename it, open the set from your Token Marker Library and click the token marker to select it:
You can click the Rename or Delete links to edit the markers.
Note that when naming your token markers, you can only use letters, numbers and the "-" character. Spaces will be converted to underscore characters.
Renaming and Deleting Token Marker Sets
To remove a token marker from a set or rename it, open the set from your Token Marker Library and click the token marker to select it:
You can rename the set and click Rename Set, or click Delete Set to remove it entirely.
Selecting the New Token Marker
To select your new token marker, click the radial menu and open the token marker menu as normal. Your custom markers will be available in the menu. If you had put the custom token marker set above the default set in the campaign details page, they will appear above the default set in this menu.
API
Token Markers can be accessed and controlled via the API using the Token Markers API function.
Roll20 is maintaining the "statusmarkers" programming object within the API to maintain older custom scripts made before this feature was created.
See Also
- Token Features
- Token Actions
- Token Marker Sets
- Custom Token Markers, Here We Come!(Blog, Archived) January 2020


