Difference between revisions of "Dungeon Draw API"
From Roll20 Wiki
Stephen S. (Talk | contribs) (→Water Mark Tile replacement) |
Stephen S. (Talk | contribs) (→Water Mark Tile replacement) |
||
| Line 97: | Line 97: | ||
{| | {| | ||
|- | |- | ||
| − | | [[File:DungeonMapper.png|thumb|none|text-bottom]] || | + | | [[File:DungeonMapper.png|thumb|none|text-bottom]] || Water Mark tile replacements:<br />* [https://marketplace.roll20.net/browse/set/522/dungeon-mapper Dungeon Mapper] |
|- | |- | ||
| [[File:DungeonDrawMarket.PNG|thumb|none|text-bottom]] || [[File:DungeonDrawMarketSample.PNG|thumb|none|text-bottom]] | | [[File:DungeonDrawMarket.PNG|thumb|none|text-bottom]] || [[File:DungeonDrawMarketSample.PNG|thumb|none|text-bottom]] | ||
|- | |- | ||
| − | | | + | | [[File:DungeonDrawIIMarket.PNG|thumb|none|text-bottom]] || [[File:DungeonDrawMarketIISample.PNG|thumb|none|text-bottom]] |
|} | |} | ||
Revision as of 13:28, 17 June 2015
Contents |
Overview
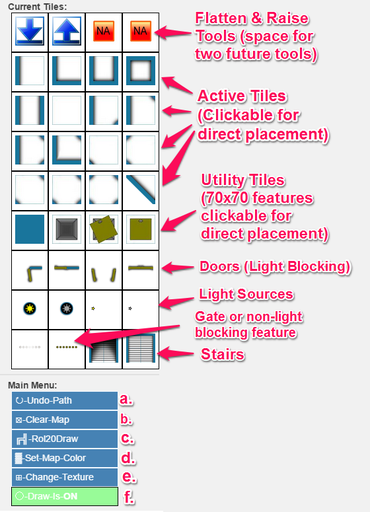
- Flatten and Raise tools: Add tokens to the Map layer with token action to raise or flatten a section of the map.
- Current Tiles: You can see the tile pack that is loaded. Each image is direct access to placing a tile. Tile will be placed in the center of the map.
- Utility Tiles: Each image is direct access to placing a tile. Tile will be placed in the center of the map.
- Doors: Single and Double. Each image is direct access to placing a tile. Tile will be placed in the center of the map. These tiles block light.
- Light Sources: Large light source and wall mounted light source. Each image is direct access to placing a tile.
- Bares or Gate: Each image is direct access to placing a tile. Tile will be placed in the center of the map. These tiles do not block light.
- Stairs Each image is direct access to placing a tile
- a. If you place a path on the map layer in the wrong spot, use the "Undo-Path" action.
- b. To clear the map layer use the "Clear-Map" action.
- c. Once you have placed your paths, click the "Dungeon-Draw" action.
- d. To set the map color based on the loaded pack use the "Set-Map_color" action.
- e. "Change-Texture" bring up a list of all installed textures.
- f. Toggle "Dungeon-Draw" off or on. This will allow you to draw paths on the map layer that are not converted by the API.
Demo Video
Fastest dungeon mapping with Roll20 API and "Dungeon Draw" Roll20 market tiles.
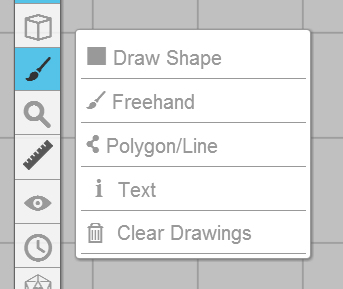
Rectangle and Polygon/Line Tools
This script leverages the Rectangle and Polygon/Line Tools to create dungeon maps based on a selected set of tiles in the API. The WIKI provides more information on the Drawing Tools and can be found here: Drawing Tools
- Rectangle are supported.
- Polygon/Line are supported
- Circles and freehand not supported.
- Using shift helps
- Also use transparent fill, this will help when closing a polygon path and gives a visual confirmation the path has be accepted by the API.
Recommendations: Hold the Shift key while using the Shapes tool and have the grid enabled. This will cause your shape to snap to the grid. Use transparent fill, this will help when close a polygon path and give a visual confirmation the path has be accepted by the API.
Split the Party & Player's Bookmark
This script leverages the "Split the Party" and "Player's Bookmark" to determine the active page for editing.
Its is prefered that controlling GM drag-and-drop the "Player Avatar" to the page they which to map with Dungeon Draw. All changes by the API will be applied to that page.
If the controlling GM has not done this, the Player's Bookmark will act as the active page.
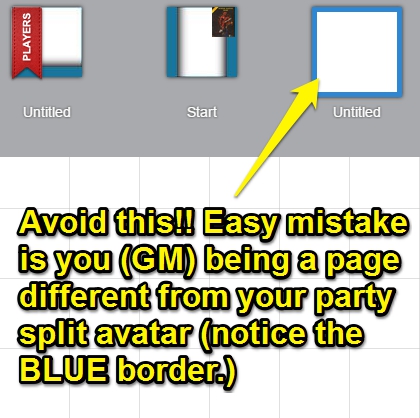
Caution: Easy mistake is you (GM) being a page different from your party split avatar (notice the BLUE border.)
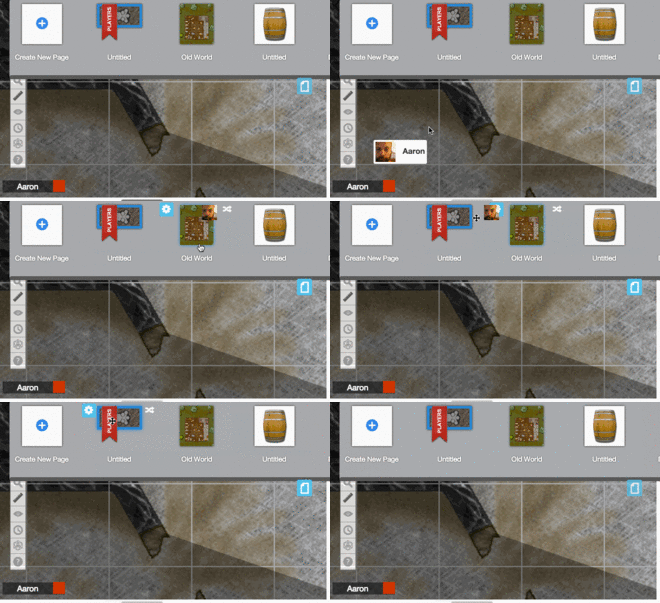
See Page Toolbar for more information.
Loading the Script
- Getting the scripts installed:
- Start a new campaign
- Install the three scripts found here: Dungeon Draw Scripts
- Enter the API command "!DungeonDrawMenu"
Updating URLs in the Code
1) Download Complete Set the pack from the market.
2) Use the Market bulk uploader
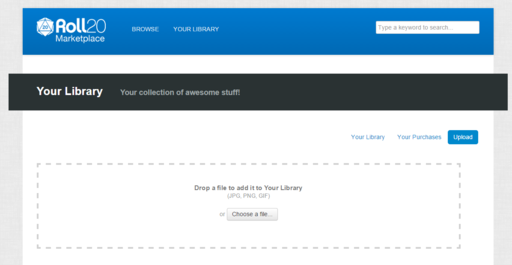
3) Open the API editor in one tab.
4) Open the campaign in another tab.
5) Use the in game image tool to get to your library.
6) Search for the "key" you want.
6) Right click the one you want and copy the URL.
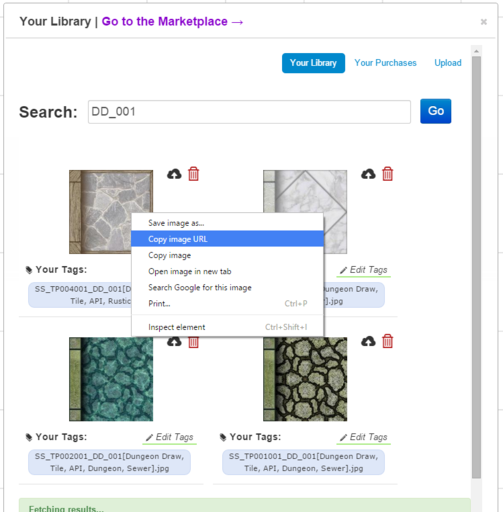
7) Edit the script.
8) Save... script.
9) In the game reload that texture pack and see if it looks right.
10) Repeat for each key
Its painful and I am sorry for that hopefully we can get access to image tags (be sure to VOTE)
HINT: Take your time. Do one or two, save and refresh the script. Check as you go.
Important Note: Tile DD_016 (the diagonal tile) repeats three times in the array. This tile is not water marked, however if you choose to replace it you will need to place the same URL in each case.
Code and URL shorted in this example
        ....
        {url: 'https.../thumb.jpg?1430172145', key: 'DD_015', value: 85,  mask: 255, dlBits: 85,  diag: false},
        {url: 'https.../thumb.png?1430172900', key: 'DD_016', value: 248, mask: 255, dlBits: 248, diag: true },
        {url: 'https.../thumb.png?1430172900', key: 'DD_016', value: 240, mask: 255, dlBits: 240, diag: true },
        {url: 'https.../thumb.png?1430172900', key: 'DD_016', value: 120, mask: 255, dlBits: 120, diag: true },
        {url: 'https.../thumb.jpg?1426895538', key: 'DD_017', value: 255,  mask: 0,  dlBits: 255, diag: false},
        ....
Water Mark Tile replacement
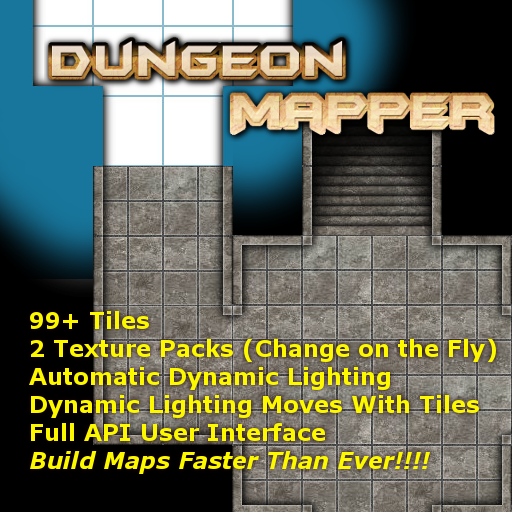
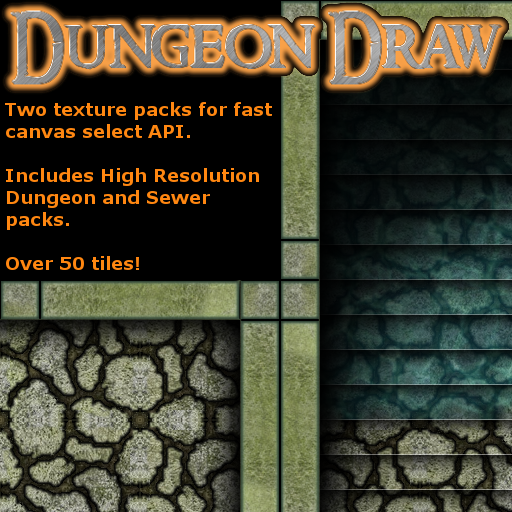
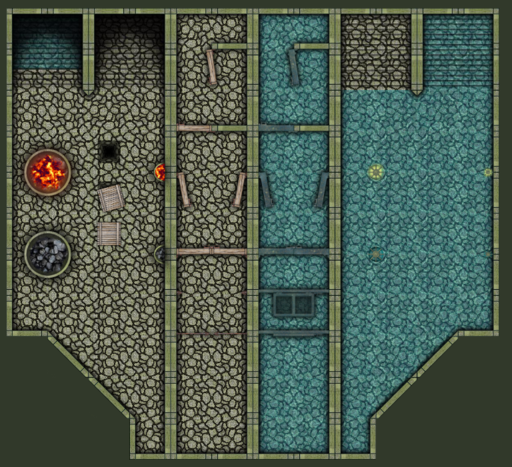
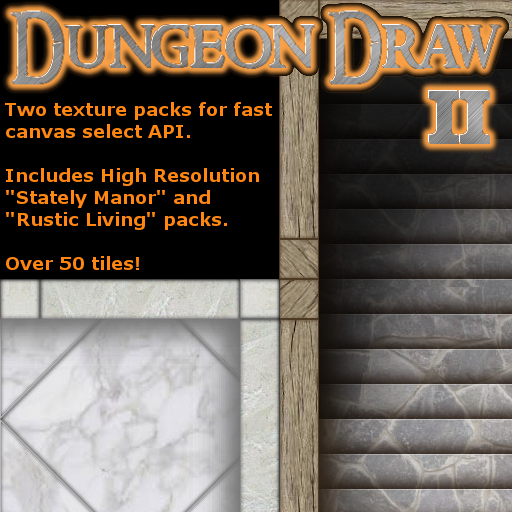
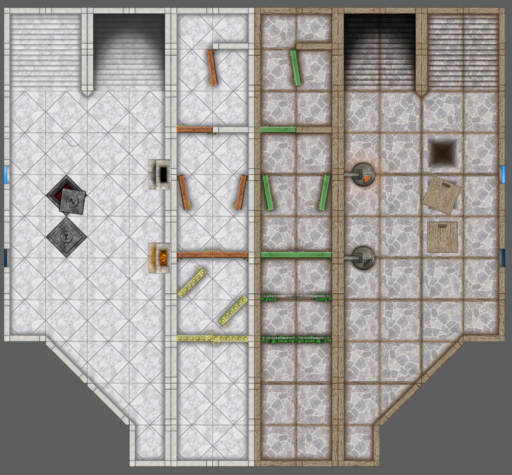
| Water Mark tile replacements: * Dungeon Mapper | |


