Dynamic Lighting
From Roll20 Wiki
Attention: Roll20 is no longer maintaining this document on the community wiki. For the most up-to-date information please visit this page on our help center for assistance: Here.
| This is about a Roll20 feature exclusive to Plus & Pro-subscribers, or to players in a Game created by a Plus/Pro-subscriber. If you'd like to use this feature, consider upgrading your account. |
| This is the page for the Legacy Dynamic Lighting. You might be looking for Updated Dynamic Lighting. |
Dynamic Lighting is an advanced map lighting tool currently available to Plus & Pro users. It calculates line of sight on the fly as tokens are moved across the tabletop.
More examples in our Dynamic Lighting Style Guide.
Contents |
The Dynamic Lighting Layer
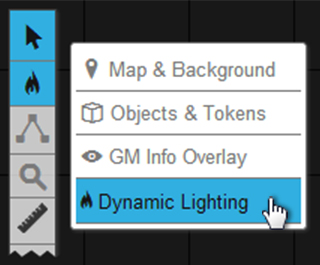
In addition to the @Map & Background Layer, the bObject & Token Layer and the EGM Overlay Layer, is the rDynamic Lighting Layer. This fourth layer’s purpose is for laying down lines and shapes that will serve as walls and/or obstacles that will block out light or line of sight.
How to Activate Dynamic Lighting
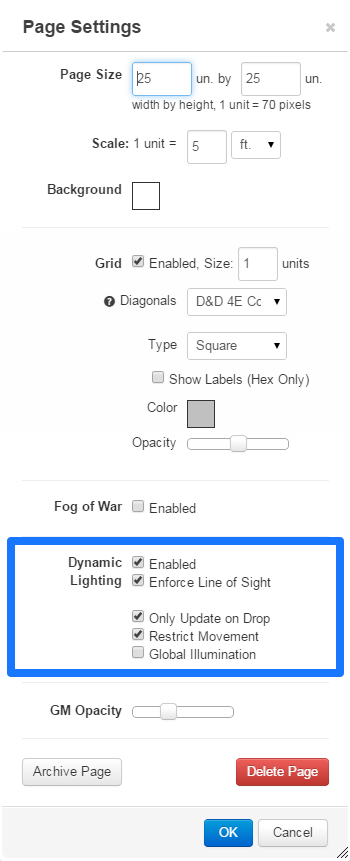
Open up your Page Settings and check the checkbox to activate Dynamic Lighting for that page. The first option Enables the dynamic lighting and the other options add functionality to the dynamic lighting system. You can use Fog of War in combination with Dynamic Lighting, but one is not dependent on the other to function.
If you or your players suffer from sluggish dynamic lighting render results you might want to consider checking the option Only Update on Drop. What this option does when checked is that the tabletop only redraws the dynamic lighting after a token has been picked up and placed elsewhere on the map. This can lessen the render burden for users running on old computers or when a GM is working with a very large or complex map.
How to Add Light Obstructions
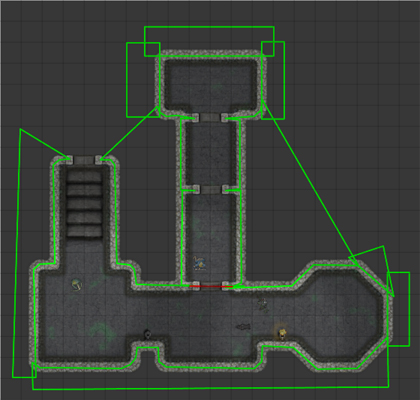
While on the Dynamic Lighting Layer, you can use all of the drawing tools available to create lines and shapes to draw walls, columns, doors, etc (except the freehand tool). You can also utilize color to help differentiate different types of light obstructions (ex. lime green for stationary dungeon walls and bright red for doors).
Use the drawing tools to draw outlines of all the walls and other pieces of the map that you want to block light. We suggest using the c Polygon Tool for best results. Due to the performance hit associated with using it, the Freehand Tool is disabled while you are on the Dynamic Lighting layer.
Remember that any drawings or tokens added to the dynamic lighting layer are invisible whenever the dynamic lighting layer is not selected. You can use this fact to put overhead or other 'invisible' lighting sources on a map by placing light emitting tokens onto the Dynamic Lighting layer.
Note: Presently, circles drawn with the Circle Tool do not render light blocking correctly. Instead of using circles, create a rounded shape with the Polygon Tool.
If you plan to block out a multi-room/complex map, it's recommended that you build the light blocking with smaller individual lines. This makes it easier to select and move around the shapes you add to the layer.
Adding Light
Now that you have your obstacles drawn out on the Dynamic Lighting Layer, you have to add light to your Page. Light is emitted via tokens. Create a token and place it on the map.
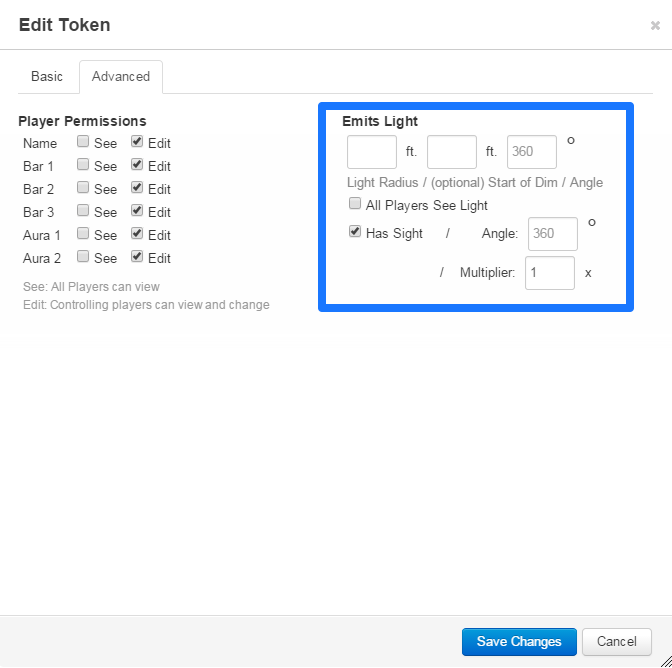
Double click on the token and select the Advanced tab. There you will find the option Emits Light. This option allows you to enter a light radius amount and gives you a checkbox for All Players See Light. When the checkbox is left unchecked, the only player(s) who can see that token’s light emission are those who have assigned permission to that token.
By default, the light will start to "dim" about 5 feet (or units) before the selected maximum radius. This effect can be modified by using the optional "Start of Dim" value in the "Advanced" tab. To make the dimmed area larger, set the "start of dim" value to be much smaller than the radius (e.g., 20/5). To make the edge of the light a "hard" transition, make the "start of dim" value larger than the light radius value (e.g., 20/30).
It is possible to create dim light with no bright source. This is useful for creating effect where the light is coming from under a door or through curtains or shutters. Simply set the "Start of Dim" value to -5
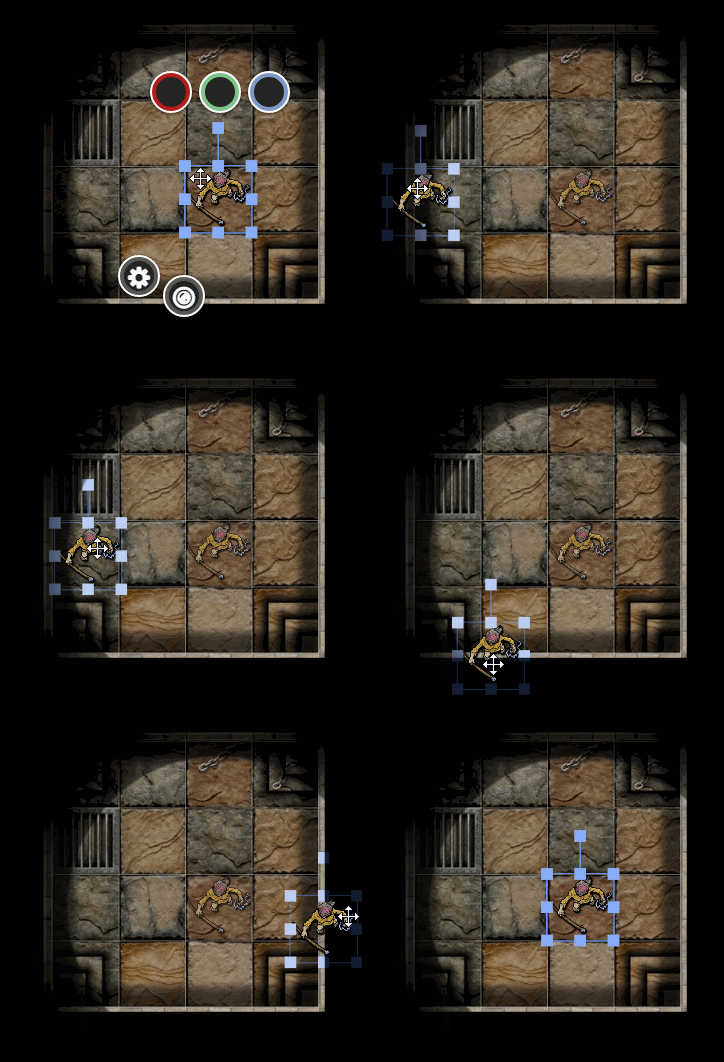
Hold down the alt key while moving the token to prevent it from snapping to the grid.
Line of Sight
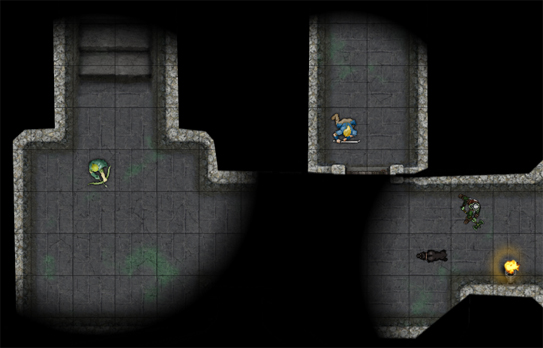
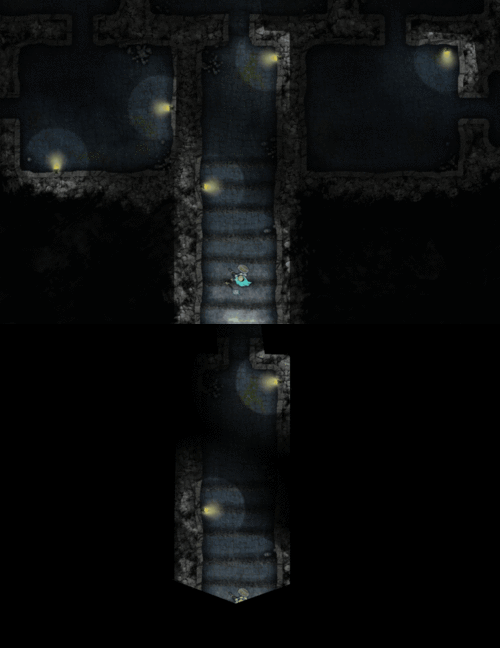
Line of Sight restricts players to only see lights that are within the appropriate field of vision for the tokens that they control. This means that a light on the other side of a wall won’t be visible to a player until they’re in that room, even if it’s a light that’s visible to all players. The image below shows the difference between a dungeon without line of sight, and then with line of sight enabled:
To enable line of sight you will need the "Line of Sight" Checkbox on the Page Settings checked, as well as having one or more tokens that the player controls have "Has Sight" checked otherwise your players won't see anything but darkness.
GMs can also highlight a token and press Ctrl+L to view the scene restricted to the line of sight of the selected token. In addition to the line of sight feature, you can now customize the “angle” of lights and the line of sight of tokens. So you can specify, for example, that a player should only have a 140-degree field of view instead of the default 360-degrees. To do so, use the "Angle" setting on the Token Settings screen to change the angle of the light emitted or the angle of the line of sight for the token.
The token's vision can be further customized using the multiplier feature. The multiplier affects how far the token can see from existing light sources. This is a good way to simulate a character who has the ability to see further than normal in low light situations or has an alternate form of vision that might allow them to navigate in the dark. For example, someone who can see twice as far in low light would have a multiplier of two.
Restrict Movement
The "Restrict Movement" checkbox enforces that player controlled tokens, that also have the "Has Sight" box checked, cannot cross over Dynamic Lighting Obstructions. This ensures that players don't move outside the intended map area and accidentally reveal parts of the map their tokens couldn't otherwise see. It can also be used without Dynamic Lighting checked as a way of restricting parts of the map from player token movement.
Global Illumination
With "Global Illumination" checked along with "Enforce Line of Sight" the map is blanketed in light, with the only restriction to vision being Dynamic Lighting Obstructions. This options simulates daytime, outdoor, or brightly lit environments where the only limits to range of vision are physical obstacles.
Troubleshooting
If all players can see everything while Dynamic Lighting is enabled, ensure that Global Illumination is not checked on that particular Page.
If one particular player can see everything, try having them toggle their browser's Hardware Acceleration on or off.
If one particular player cannot see anything while Dynamic Lighting is enabled, ensure the following:
- Has Sight is checked on their Token's Advanced Tab.
- They have permission to control their Token. (If their Token Represents a Character, ensure that they have permission to control that Character.)
- All Players See Light is checked on the light source Token's Advanced Tab.
- Fog of War is not blocking their Token's vision.
See Also
- Advanced Fog of War
- Updated Dynamic Lighting - the new version of Dynamic Lighting
- Optimizing Roll20 Performance


